Shopping Our Own Home Saved Us Hundreds on Our $3K Bathroom Remodel
As did installing the tile ourselves.
Updated Oct 11, 2018 11:19 PM
We may earn revenue from the products available on this page and participate in affiliate programs.

In Renovator’s Notebook, homeowners open up about the nitty-gritty of their remodels: How long it really took; how much it actually cost; what went horribly wrong; and what went wonderfully, serendipitously, it’s-all-worth-it-in-the-end right. For more tips to nail your next project, follow @reno_notebook.
Location: Orlando, Florida
Budget: $3,200
Square feet: 36
Top priority: Nodding to the home’s mid-century roots.
When marketing specialist and content creator Camille Lai moved into her husband Greg’s 1960s home in Orlando, Florida, in 2012, she was met by a bathroom straight out of her nightmares: 36 square feet covered in faux plaster stucco. “I absolutely hated those walls,” says Lai. For the next several years she did everything she could think of to downplay their texture, from painting them to swapping out accessories. Finally, this past summer, she tore down the walls altogether.
The demo kicked off with the couple taking the room down to the studs in hopes of infusing it with the same mid-century–meets–contemporary look as the rest of the house. Extensive bathroom remodels like theirs are typically pricey, but Lai and her husband were able to save $3,000 by installing the electrical and laying the floor tiles themselves—but that’s not all. Ahead, Lai walks us through exactly how they pulled off the room’s affordable $3,200 makeover.
Save: The Right Kind of Texture

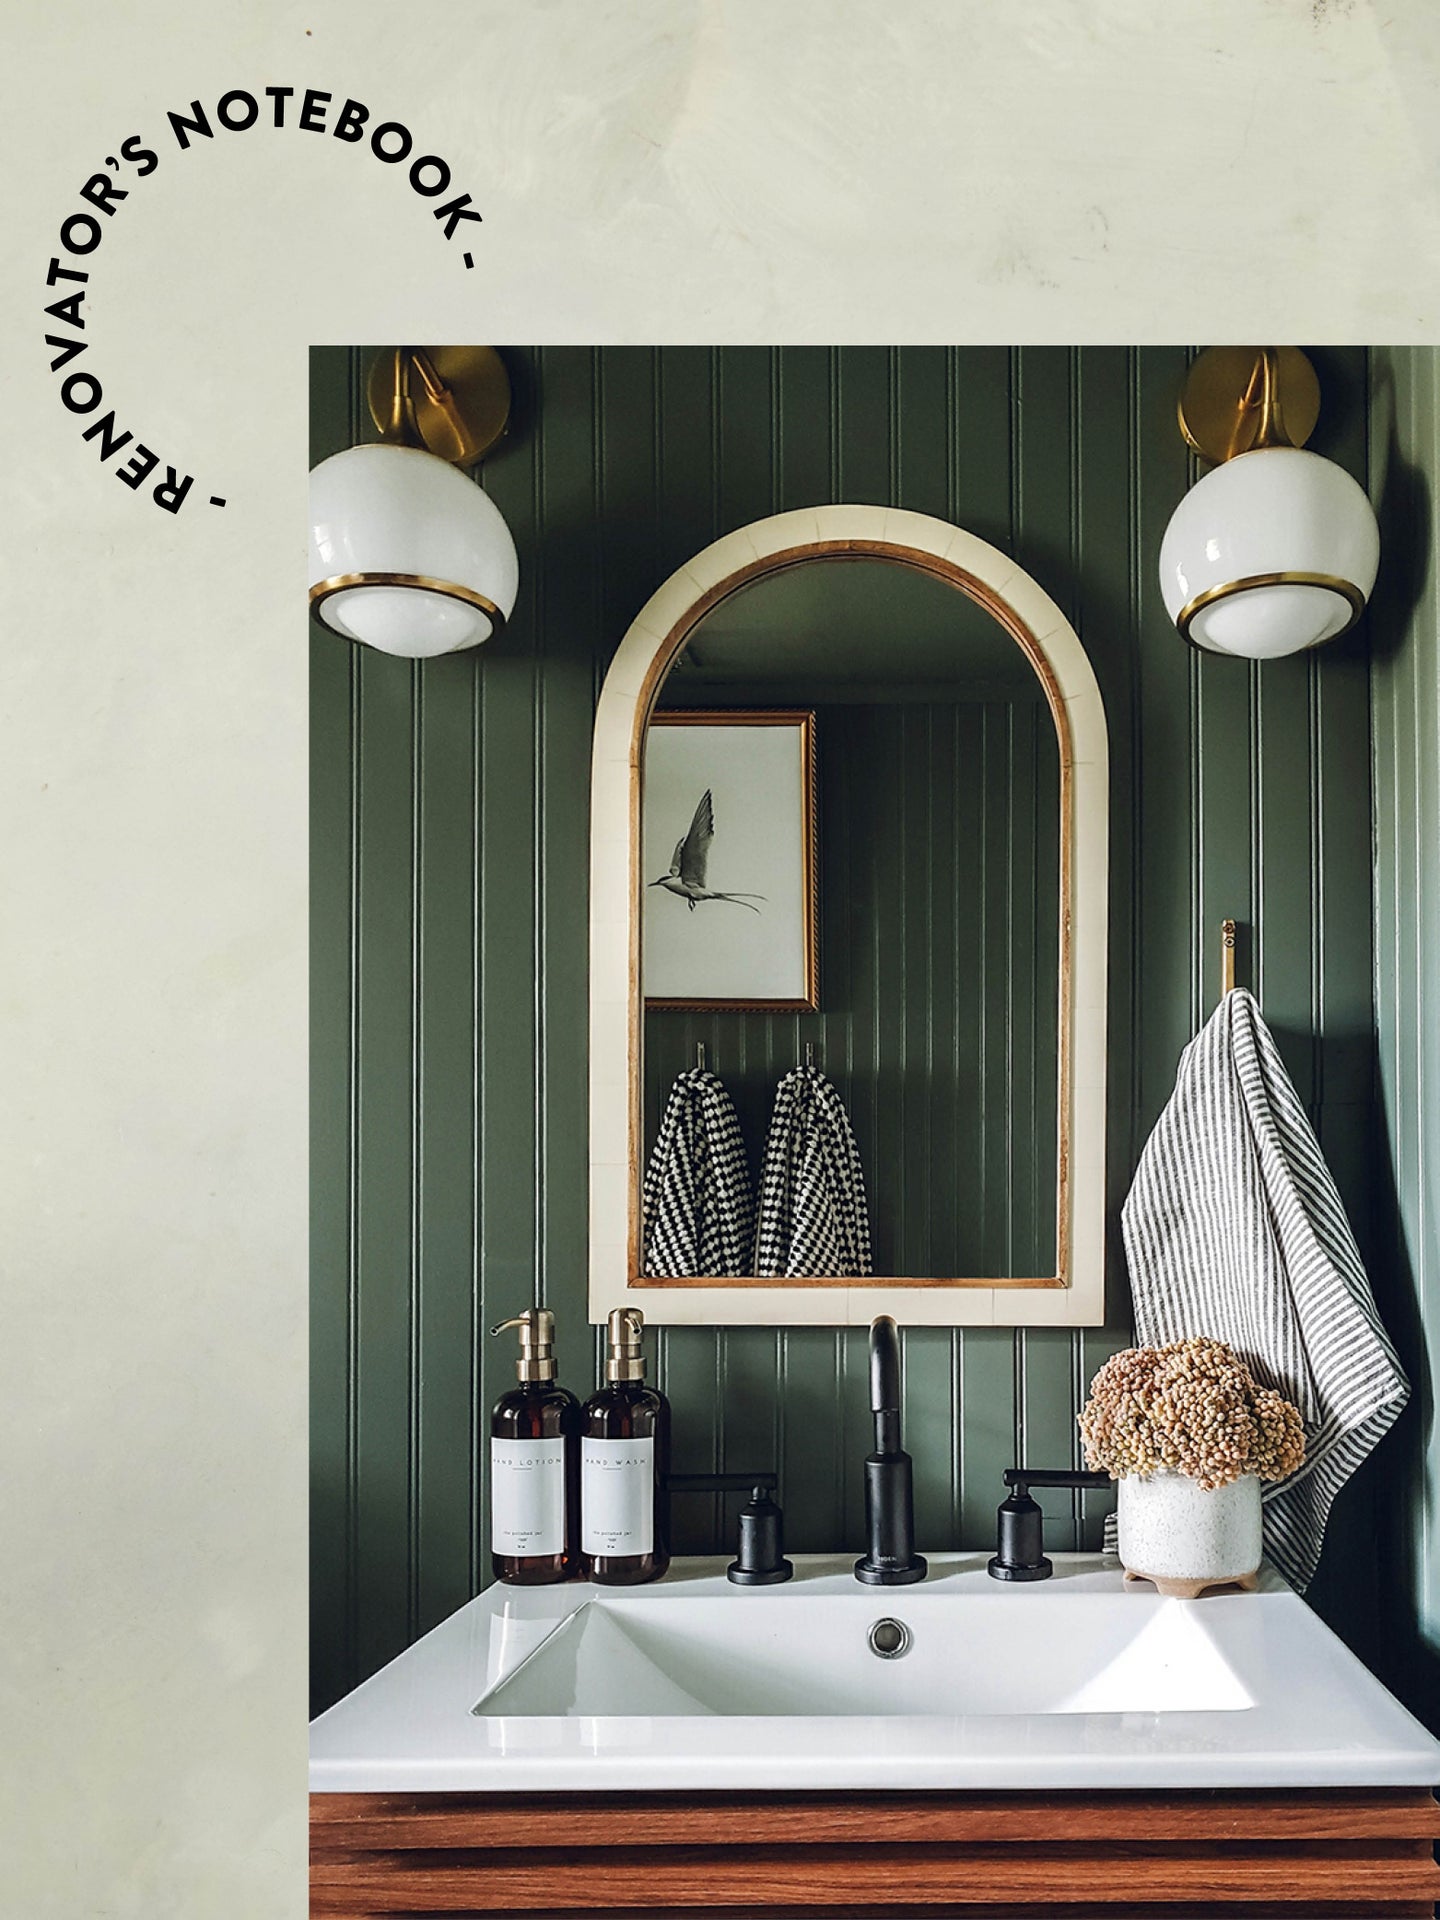
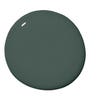
My husband and I spent a couple of hours ripping out the textured walls and putting up new drywall that we then covered in $100 worth of beadboard. I chose the material because it feels classic and fresh at the same time. We then gave the boards a coat of green paint from Clare, so the bathroom would match our home’s other moody rooms—they’re painted charcoal, black, and navy.
Splurge: Mid-Century Fixtures
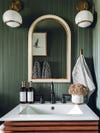
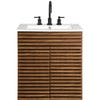
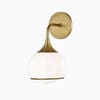
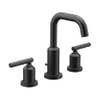
We replaced the vanity’s single overhead light with two mid-century–inspired sconces from Hudson Valley Lighting and paired them with a contemporary Moen faucet. The fixture was pricey, but I loved its surprising square neck, so there was no going back once I came across it. This corner is grounded by a trendy fluted vanity that offers us the storage the previous pedestal sink lacked.

Splurge: Tiling All the Way Up
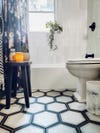

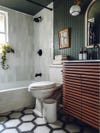
To make the bathroom feel taller, we paid a contractor $500 to stack the tile in the shower vertically until it reached the ceiling. We laid the hexagonal flooring ourselves, though. We thought the shape was going to make the install super-challenging, but we quickly figured out a trick: We cut the pieces that border the room in half to give ourselves a straight edge to start with, then worked our way toward the center of the floor.

Save: Strategic Rearranging
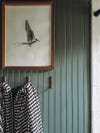
I shopped my home so I wouldn’t have to purchase candles, vases, and other accessories. I even saved $70 by moving a shower curtain from another bathroom to this one. The few things I did buy were all relatively inexpensive, as well: I snagged the vanity mirror from Target for $60; I purchased downloadable art from Juniper Print Shop for $20; and I scored $3 vintage picture frames at a thrift store. These affordable accents really helped me achieve the vibe I was after, and I love the results—my pocketbook does, too.
Our Fall Style issue has arrived! Subscribe now to get an exclusive first look at Ayesha Curry’s Bay Area home—and discover how design can shape our world.